Did you know that every year, the world produces over 2 billion tons of waste? That’s enough garbage to fill over 800,000 Olympic-sized swimming pools! (BBC, 2019) If you’re feeling guilty about your own contribution to this staggering amount of waste, luckily there are a few simple steps you can take to make a difference, and they all start with the three R’s: reduce, reuse, and recycle.

Let’s start with the first R: reduce. This means that we should aim to consume less in the first place. By doing so, we decrease the demand for new products, which ultimately leads to less production and less waste. For example, instead of buying disposable plastic water bottles, consider investing in a reusable water bottle. This not only reduces the amount of plastic waste that ends up in landfills but also saves you money in the long run.
The second R is reuse. This means finding new ways to extend the life of products you already have. For example, instead of throwing away old clothes, consider donating them to a charity or thrift store. This not only keeps them out of landfills but also provides someone else with the opportunity to use them.
Finally, there’s recycling, which should always be used as a last resort. While it’s important to recycle, it’s important to remember that it still requires energy and resources to break down and repurpose materials. That’s why it’s crucial to reduce and reuse first.
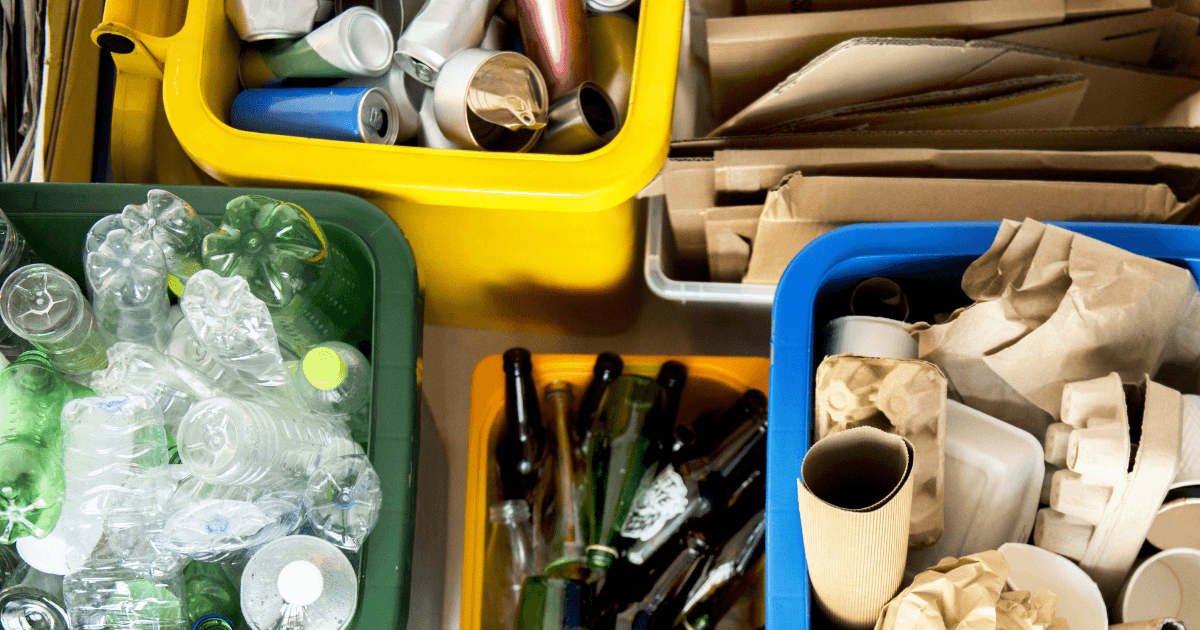
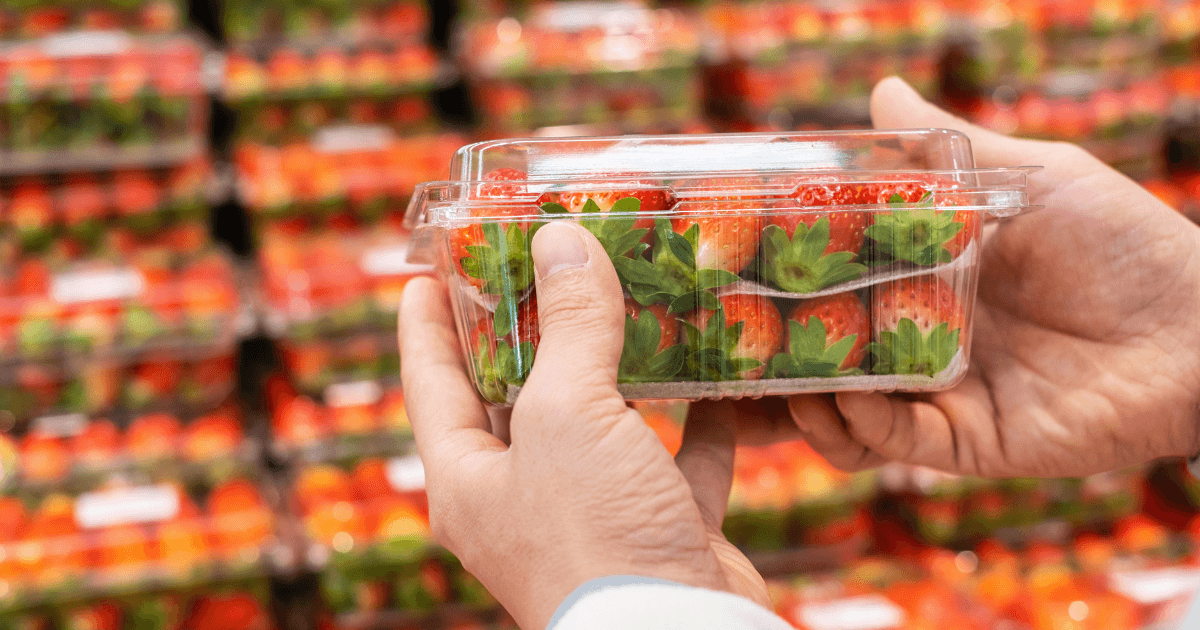
It’s also worth noting that not all plastics are created equal. Some can be recycled, while others are destined for the landfill. For example, #1 plastic is listed as a recyclable material, but not all products made from this type of plastic can be recycled effectively. Soda bottles, which are made through a blowing-like process that results in a thicker product, can be melted down and turned into new products. But products like strawberry containers, which are made using a mold and result in a flimsy, thin product, cannot be effectively recycled and will end up in landfills.
But fear not, there’s a creative and fun solution for all your flimsy plastics: upcycling! It’s like recycling, but cooler and more creative. You can take something that would’ve been trash and turn it into something new and awesome. In fact, one simple way to reuse plastic products is by creating a DIY seedling greenhouse!
Not only will this keep these containers out of landfills, but it will also save you money on buying seed starters. Plus, it’s a great opportunity to get your kids interested in gardening and nature. It’s a fun and hands-on way to teach them about their environment and how they can make a positive impact on it. Plus, it’s a great opportunity to bond, create something as a family, and give your children the opportunity to feel responsible and accomplished as they care for their seedlings and watch them grow!
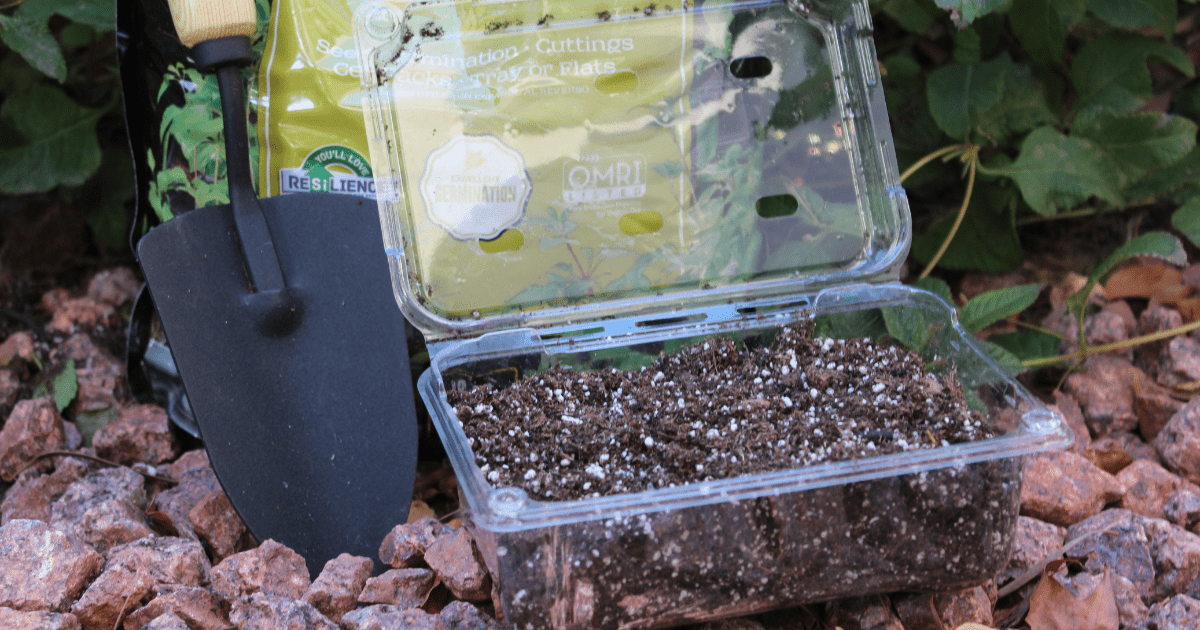
To get started, all you need are plastic materials like produce or food containers, milk bottles cut in half, yogurt cups, or egg cartons. Gather up those plastic containers, get some seedling mix, Dr. Q’s Plant Tonic, and seeds of your choice, and follow the step-by-step instructions to watch your seedlings grow into healthy plants. When it’s time to transplant them into your garden, you can feel proud of the sustainable and creative effort you and your family put in to make it happen.
So, let’s remember to reduce before reusing and reuse before recycling. Upcycling is not only a sustainable solution for our flimsy plastics but also a fun and creative way to make a positive impact on our environment. Give it a try and watch your seedlings grow!
DIY Seedling Greenhouse
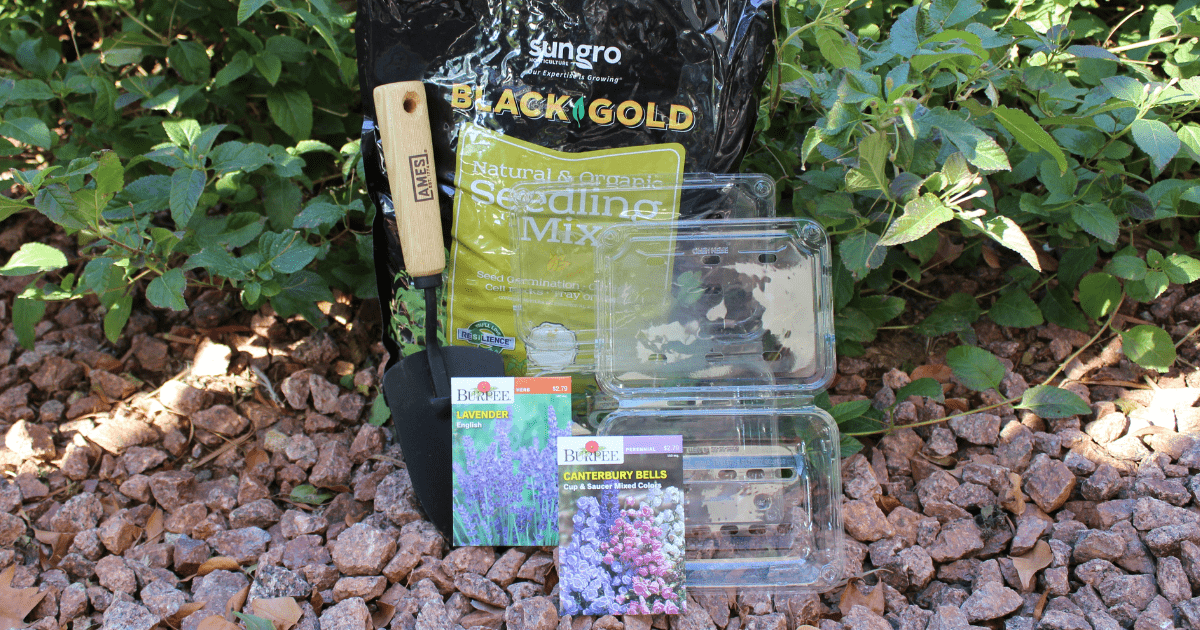
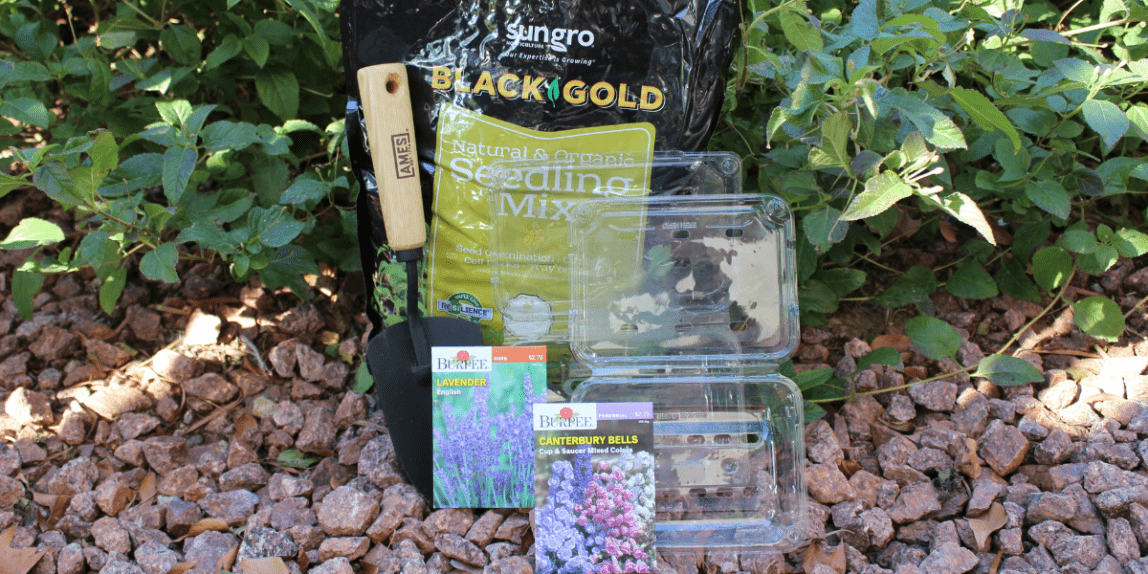
What you’ll need:
- Seedling Mix
- Dr. Q’s Plant Tonic
- Trowel
- Seeds of your choice
- Container of your choice (produce containers, takeout food containers, yogurt cups, milk bottles cut in half, egg cartons, and much more!
Directions:
- Find a container you would like to use. An ideal container has a lid to create a humid environment, holes on the top to allow air to the seedlings, and holes on the bottom for good drainage. (If your container does not have holes, you can also – safely – cut out your own holes.)
- Pick out the seeds you would like to grow.
- Add seedling mix to containers (about ¾ full). Be sure to use soil that is specific to seed starting. Other soils, such as potting soil or compost, might contain harsh ingredients that will overwhelm the seedling.
- Press seeds into the soil. Desired depth will vary by seed variety. Check the seed packaging for specific instructions.
- Water seeds so that the soil is fully moist. Be careful not to water too little where the soil is still dry or overwater where the soil is completely saturated with water.
- Place container in an area with stable temperatures and bright, indirect light.
- As necessary, water seeds through the bottom of the greenhouse or pot.
- When the seeds sprout and have two sets of leaves, remove the covering and place the container near a south-facing window. Rotate the container every 2-3 days to prevent seedlings from bending to reach the light.
- As the seedlings begin to crowd each other, snip off the weaker ones with scissors. If you pull out the weaker seedling sprouts, rather than cut with scissors, you will disturb the root system below.
- About three weeks after the seeds sprout, fertilize them lightly with a liquid plant food such as Dr. Q’s Plant Tonic.
- When your seeds are ready to be transplanted into the garden (around the time the roots begin to grow through the bottom of the container), expose the seedlings to a few hours of direct sunlight and outdoor temperatures for a few days so the seedlings can harden and adapt to their new environment. Be sure to keep the seedlings out of strong winds during their exposure period and keep the soil moist.